
From the beginning, when it came to this farmhouse project, we wanted to try and do as much as we could on our own to save on costs. The entire house essentially had to be gutted (we bought the property for the land, not the house) and the more we had professionals do, the less we would be able to afford.

On one of the thousands of Home Depot trips I noticed a sign for all the free how-to classes they offered throughout the month. Some of them seemed really great but the one that peaked my interest the most was the “how to tile a backsplash”. I said to my husband “Hey I can do that!!”. Right away I knew just the person I could rope in to taking the class with me. My sister-in-law Bri. She’s always down for trying something new, especially if I entice her with the promise of prosecco and Chic-fil-a (what can I say we’re fancy people).

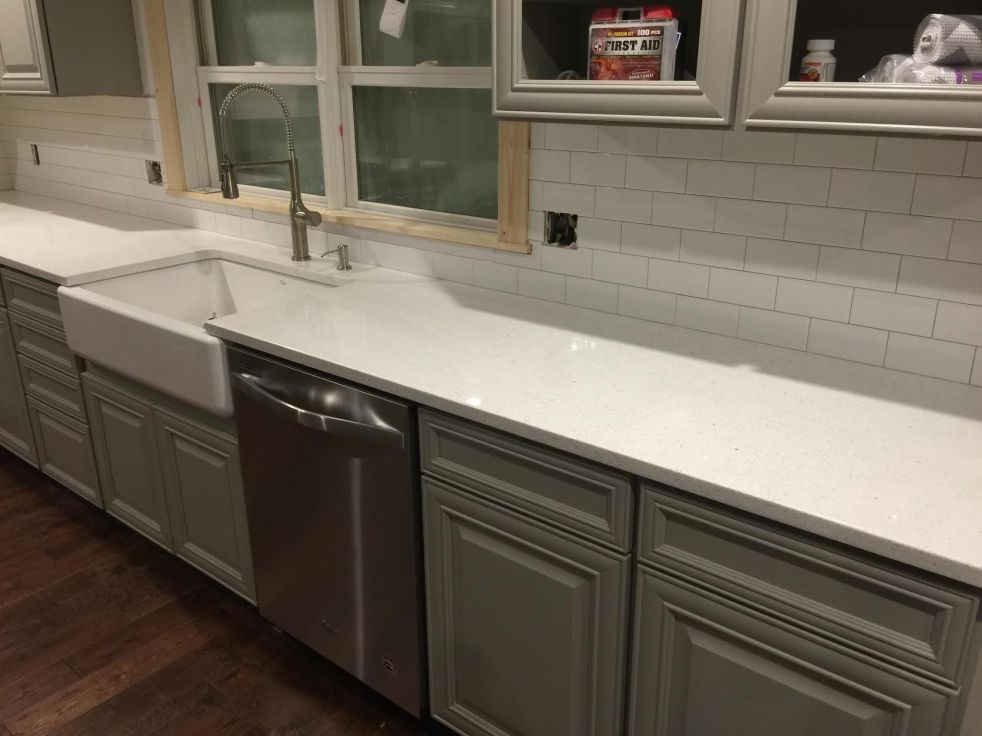
The class was awesome! The instructors were super nice and encouraging. The best part was we were able to try the exact products we were going to use to make sure the color schemes worked. I chose the classic 3”x6” bright white subway tile with a platinum (grey) grout. We learned the proper technique and steps of how to place the adhesive, tile and grout ALL WHILE BEING FREE! Amazing!


Now it was time to put our skills to the test. With a little liquid courage we began tiling! Ok guys the hardest part of the whole project is the cutting of the tiles. Not even gonna lie our husbands helped us with this part. They were familiar with using the wet saw already. Could we have done it? Of coarse. Who run the world? Girls! But none the less I’m not dumb and if the guys were willing to cut the tile (it mighttttt have taking some coaxing, ok a lot of coaxing) then we were going to use their help. When it comes to tiling it is a 2 day process at the minimum. Day 1 is for applying the adhesive and tile while day 2 is the grout. Each day took a few hours(3-4). We made sure everything was perfect and took our time especially day 2 with grouting.

Once you get the rhythm it goes by quickly. Plus when you have fun people you are doing it with it is actually really fun. The key is a fun play list and some spiked seltzer (its actually a miracle anything is straight, I’ll thank my brother-in-law LJ and the level that never left his side for that!).


I absolutely love how it turned out! I love how bright it is and it really makes the kitchen feel put together. I plan on doing a how to video in the near future explaining exactly how we did the tiling. Head over to the product section of the blog for the exact products we used. Let me know if you have any questions!
Thanks! Cait